Showing posts with label family memories. Show all posts

Saturday, April 13, 2013

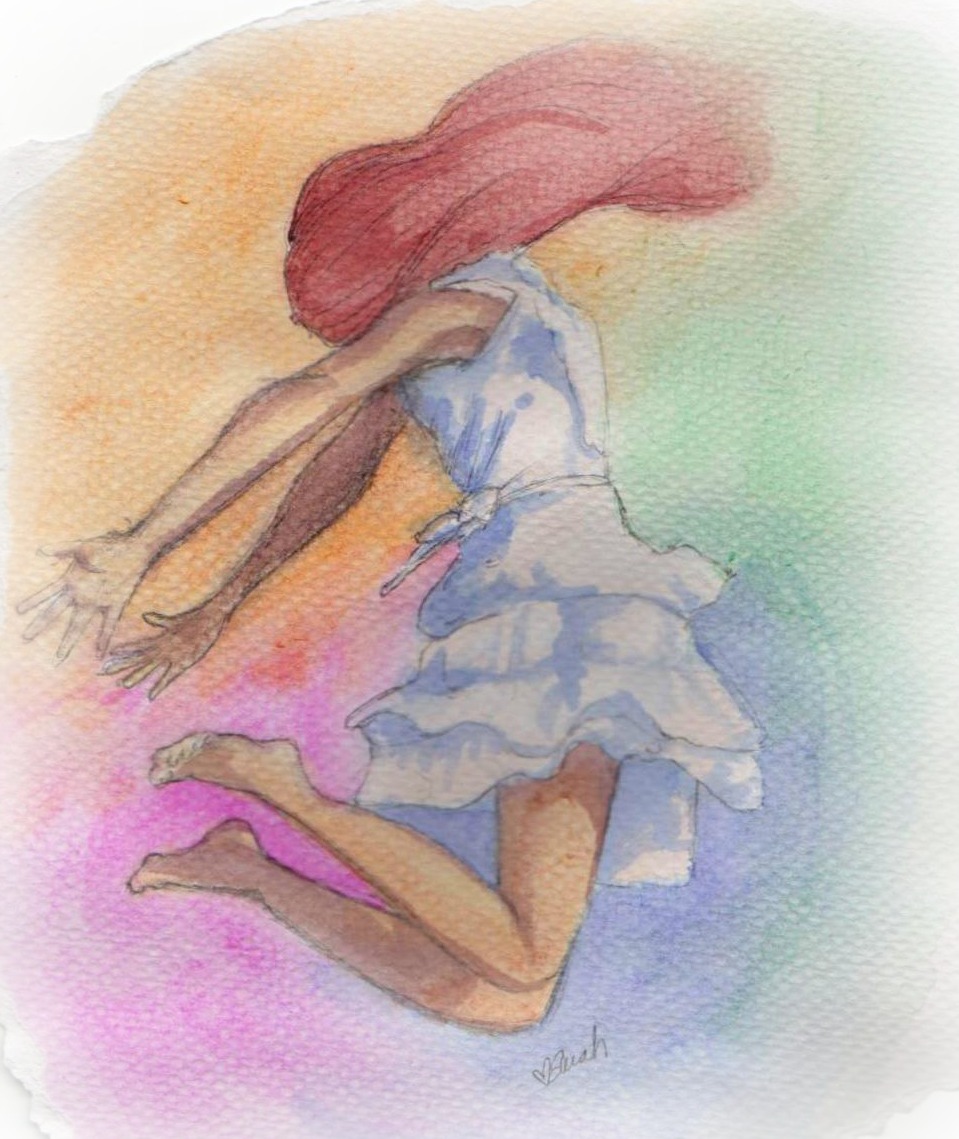
My precious daughter

Daily Gratitude


Today I'm shining because I'm thankful for my Sarah girl:
  • My daughter has imprinted me with indelible ink. She makes my heart sing a song that is only hers. And, like her sweet baby smell, it is especially assigned to her. 
  • Like a photo negative, she and I are the same picture with different light. Where she shines, I sit in awe and wonder at her unique gifts. 
  • As is with most mothers and daughters, we are complicated, convoluted, and changing. Through the years our relationship has taken on unanticipated hues and depths. All making for a rich tapestry that both of us can proudly claim as uniquely ours. 

"Your soul sings to mine. My soul is yours, and it always will be, in any world. No matter what happens. I need you to remember that I love you." ~Laini Taylor

Image credit: Sarah Hepler

Friday, March 29, 2013

Sweet treats

Daily Gratitude


Today I'm shining because I'm thankful for:
  • A job well done. Doesn't it feel great when you have a daunting project that you've taken head on. You work hard, maybe harder than you thought you'd have to. Then, it's finished. And, you're pleased with the results. Well, that's how I feel about a writing job I just completed. It feels great. 
  • My best friend's dog, Willie. Debbie's dog was a delightful friend to my family. He'd bound to the door when I arrived, carrying one of his precious toys as an offering. He'd bark for treats. He'd bark for a pat on the head. Willie's old body became too tired to stand on his long legs. He couldn't see well. His teeth were falling out. Other failures where happening as well. Yesterday, Willie went to sleep a sweet, happy dog. He will be missed for a very long time.
  • Bright colors. Yesterday I noticed people were wearing lively shades of green, blue, yellow and other colors. It's spring! And, we're wearing it well. 

Sweet Treats for my Kiddos


As a regular pinner to Pinterest, I see some pretty amazing things. Even though I don't have kids at home these days, I have a Kids Only board that I pin to. Weeks ago I saw a great treat called Trix Krispies and have thought about making them ever since. But, goodness, I couldn't justify making a whole batch of these goodies for myself! So, when Easter plans were being made, I jumped on the opportunity to try the recipe! They were super easy and quite delightful.


Trix Krispies


4 tablespoons butter
4.4 oz. bag mini marshmallows
10 cups Trix cereal

Place the butter and marshmallows in a large glass bowl and pop in the microwave for about 2 to 3 minutes to melt. Stir well. Mix in your Trix cereal and stir. Pour into a large greased pan (9 x 13 or 11 x 11) and press down with a spoon. Cut into squares. Serve with a colorful smile!

***

As I perused the posting for Easter treats, I saw several versions of Easter Bunny Bark. Ok, I had to make that as well. It was even easier than the Trix Krispies! This is my version of the recipe.


Easter Bunny Bark


1 pound white chocolate melting wafers
1 cup thin pretzel sticks, broken in half
1 cup M&M’s in pastel colors
1 cup salted peanuts
Sprinkles

Line a cookie sheet pan with waxed paper. Melt the white chocolate wafers over a pot of simmering water, whisking frequently until melted. Pour the melted chocolate over the prepared sheet pan. Sprinkle the pretzel sticks, M&M's, and peanuts over the chocolate. Mix in with a spatula. Then, spread evenly over the pan. Sprinkle with sprinkles. Let set at room temperature about 1 hour. Cut the bark at room temperature with a sturdy sharp knife. Yummy!

I think my family will gobble up these sweet treats quick like a bunny!

Sunday, March 3, 2013

Pinspiration: Floral Abstract

Daily Gratitude


I'm shining today because I'm grateful for:
  • Waking to the sound of birds. This morning the birds were calling one another in the morning light. It made me smile knowing they are getting ready for the business that Spring brings.
  • Mermaids of the Lake, the online magazine I co-publish with my best friend Debbie. Sometimes writing and editing, organizing layout and design, working with other writers, and such can be a load of work. Yet, it's so worth it when it's done. A finished issue feels wonderful.
  • My coffee maker. Enough said. 

Pinspiration: Floral Abstract


Have you had a pinspiration? It's a term coined by Pinterest followers. Being an ardent pinner, I have pinspirations frequently. More than just loving all the beautiful, interesting, creative things on Pinterest, I'm actually having fun cooking a few recipes and doing some of the projects. And, I'm finding that sharing these experiments with another pinner doubles the fun! (See my Pinterest related terms below).

Last weekend I visited my daughter, Sarah. She's a university students attending school a few hours away. Sarah (also a pinner) and I planned to do a project together. You know, mother-daughter bonding. We cruised through both of our creative boards. There was so much to choose from! Many were complicated, requiring more time and money than we had. We narrowed things down to an art project I'd pinned a few weeks ago. How to Paint a Floral Abstract in Acrylics appealed to both of us.

Materials needed for the project

  • Acrylic paints - Use a variety of colors 
  • Paintbrushes - 1 flat paintbrush for painting the background squares, and 1 or 2 small round paintbrushes for painting in the details.
  • Canvas - choose a square or rectangular canvas in any size you want. I used a 12"x 12" canvas.
  • Ruler - for measuring the grid
  • Pencil - for drawing the grid


The first step was to pencil in 12 3x3" boxes on the canvas. Then paint each square.


Once the squares dried, I painted a boarder and a circle in each. No need to be precise with this project. In fact, I thought going at it a bit free-style adds to the look. I used all sorts of colors, making the boarders and circles differing sizes.


Sarah took off on a completely different path. She drew precise angles resembling a quilt pattern. Her color scheme was five colors.


My circles soon turned into the center of flowers. I began adding petals and such to the centers. Again, being a bit loose, sometimes extending into the boarder. 


Sarah's boxes filed with angles and blocks. Pretty colors!


Reinforced with an excellent cup of coffee, I continued to apply layers upon layers of petals. They were then embellished with dots. This was really taking quite a bit of time! Not being an artist who uses acrylic paints, I didn't realize how much time it would take. I made a boo-boo or two, so painted over a few places. You can see that on the bottom right corner and on the top row. Oh well, still having fun!


At this point, it was time for me to head for home. Sarah and I compared our pieces. Wow, what a different approach to the same project! 


Finally, each of the boxes were filled with a crazy, dotted flower. Lastly, I painted the sides with black paint.


Seriously, this project turned out way more whimsical than how I usually express myself! Yet, I had a wonderful time. Working side-by-side with Sarah was fun. It was interesting seeing how we each approached the creative process. She is studying Architecture, so it makes sense that she comes at things with precision and takes care at every step. I, on the other hand, dove into the project with complete lack of restraint. Even our shared paint tray demonstrated that. Sarah's paint blobs were neatly placed in a row. Mine, smeared all over, took up two-thirds of the tray! 

Overall, the Pinterest project deserved medium-high scores 


Here's why: The link from Pinterest to the web page went directly to the featured project, the project was clearly stated on the web page, the steps were easy to follow, the project turned out somewhat similar to the tutorial, and we were able to modify it to our taste. The only lower mark being it isn't a beginner project and it should be stated that familiarity with acrylic paints and brushes is required. 

Another Pinterest project


Earl Grey Cupcakes is another Pinspiration project I did. The process is documented on Mermaids of the Lake.

Want to know more about Pinterest?


Pinterest is a tool for collecting and organizing things you love.
Pin is what you do when you find something on the webs that you like.
Pinner is someone who uses the tool a lot!
Pinspiration is an inspiration one gets from seeing something pinned by another.

I would love it if you followed my boards! I love pinning great quotes, inspirational ideas for decorating, recipes that are interesting and unusual, various art expressions, and images of the types of things I collect. Find me here: Pinterest.com/ShelleyHepler


Thursday, December 20, 2012

Angel Hairy Legs

Daily Gratitude

I'm shining today because I'm grateful for:
  • A White Christmas! For the 30th time (I'm guessing here) I watched White Christmas. I do love this sappy movie. What's even better, we're actually going to have one this year! Yay!
  • Messages of encouragement and excitement at my prospects. I had three friends call yesterday to say the agency I interviewed with last week had contacted them as reference checks. Whoohoo! 
  • My old car. You know, "The Kid Mobile" is pretty amazing. She just keeps moving along with no worries or hiccups. I'm so grateful for her!

Ahhh.....Christmas Memories


When I was a little kid, December filled me with a mounting frenetic energy. I'm pretty sure that's how it is for most children. As the month progressed, the tension and anticipation grew into a monstrous entity. The year I was five was the first Christmas I clearly remember. Yes, Christmas #5, the year of the Angel Hairy Legs, will always be burned into my memory.

My mom, per her annual schedule, started Christmas preparations immediately after Thanksgiving. There were secret sewing sessions in Santa's shop. All sorts of amazing cookies and candies, once made, were whisked away in tins. Adults talked about Santa and the chimney. Nat King Cole and Dean Martin sang of holiday goodness. And, the decorations came out.


Did I ever love the ritual of decorating the tree. (I still do!) Mom brought all of the boxes and packages of decorations out from storage. They were staged in an orderly fashion. Having been told to sit still and not cause trouble, I watched as she strung the lights. I loved watching her make sure each bulb worked. When one failed to light, I would pop up with a replacement. Mom then hung the precious glass ornaments, staggering them so they were spaced just right. Finally I got to really help. My sister and I added our special ornaments in spaces left just for us. Next came placing the foil icicles evenly on the limbs, covering the entire tree. Back to the sofa for me, as the final touch was added. Carefully mom took small bunches of angel hair and covered each bulb. That did it. The glow of the white fibers over the lights turned an ordinary evergreen into a magical, marvelous Christmas icon.


Let me tell you a little bit about Angel Hair. Back in the olden days when I was a kiddo, it was a popular Christmas decoration made out of spun glass, which was essentially fiberglass. It was used for Christmas tree trimming. Mom used it not only on our tree, but around our Nativity Scene and as a foundation of sorts for other holiday decorations. It was popular because it refracted the light and made things seem to glow.

The problem with Angel Hair is that it can be very itchy if gets on the skin. It's use was pretty much abandoned because there are other possible health concerns, such as eye, nose and throat irritation. As with any fiberglass, precautionary steps are taken when it's handled.

That's exactly what mom told my sister and me. Under no uncertain terms were we to touch the Angel Hair. It would make us itch, it could even cut our skin.

My sister was a very good little girl. She did not touch the Angel Hair. I, well, I was good for as long as I could. I recall putting my hands behind my back and getting as close as possible to the pretty reindeer, the elegant red taper candles, and to baby Jesus in the manger. I looked and looked at the shiny, glowing white Angel Hair. It was so beautiful it hurt.

But, I tell you, not touching beautiful things was an extremely difficult thing for the rambunctious and inquisitive child that I was. As the big event drew near, my resolve faltered exponentially. I remember touching the Angel Hair quickly with my index finger. I poked it a little. Nothing happened. I poked it a bit more. Still, I was ok. I even took a clump of it and held it in my hand. Geez, I was still alive. Hmmm.

Christmas eve was nuts. Mom dressed sissy and me in red tights, black patten leather shoes, and the darling plaid dresses she'd sewn for the occasion. Grandparents, uncles and aunties, all came over for a nice dinner and present opening. Well into the evening mom realized I was missing from the festivities. She felt badly because earlier I had been in a bit of trouble. Before she had a chance to open her big present, I told her that she was getting a beautiful golden bathrobe from my dad. Ooops.

My Angel Hairy legs were tucked up under mom's beautiful golden bathrobe

Yet, it wasn't like me to worry too much about being in trouble. It happened a lot and I got over it quickly. Concerned, mom looked around and found me in my bedroom crying. I was pretty upset. My legs were itchy and scratchy because I had Angel Hairy legs. In frustration, probably with herself, mom took off my red tights and saw my little limbs were welted.

"What! Where you playing with the Angel Hair?"

I had grown bold with the spun glass and did more than poke it. Who knows what I did, but somehow it got all over my legs. My tights were ruined. My legs hurt. My Christmas outfit was messed up for pictures. And, mom was not happy.

I'm certain Christmas #5 was pretty much like most everyone's celebrations, with it's fair share of crazy kids and a few mishaps. One thing I do know is that Christmas #6 was celebrated without a strand of Angel Hair.

Angel Hairy Legs